How to Redirect WordPress from HTTP to HTTPS
When you migrate your WordPress website from HTTP to HTTPS, you need to redirect all traffic from HTTP to HTTPS to ensure that your website is accessed securely. One of the easiest ways to do this is by using the Really Simple SSL plugin.
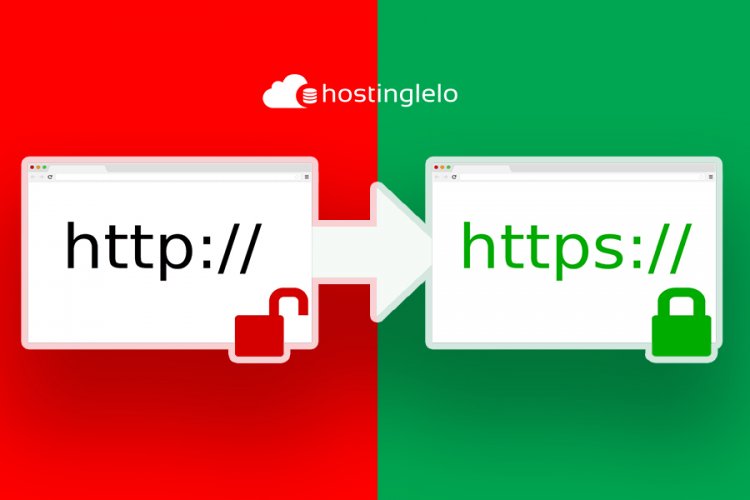
If you have a WordPress website, it is important to ensure that your website is accessed securely using HTTPS. When you migrate your WordPress website from HTTP to HTTPS, you need to redirect all traffic from HTTP to HTTPS to ensure that your website is accessed securely. HTTPS encrypts data that is transmitted between a user's browser and a website, making it more secure and protecting sensitive information. One of the easiest ways to redirect your WordPress site to HTTPS is by using the Really Simple SSL plugin. In this blog post, we will guide you through the steps to redirect your WordPress site to HTTPS using the Really Simple SSL plugin.
If you have a WordPress website and want to make the switch from HTTP to HTTPS, here are the steps you need to follow:
Step 1: Activate SSL Certificate : Before you can redirect your site to HTTPS, you need to activate your SSL certificate. Most web hosting providers offer free SSL certificates through Let's Encrypt, so check with your hosting provider to see if they offer this service( Hostinglelo Offer Free SSL certificate with web hosting) . Once your SSL certificate is activated, you can proceed to the next step.
Step 2: Install and Activate Really Simple SSL Plugin : The first step is to install and activate the Really Simple SSL plugin. You can do this by going to your WordPress dashboard, selecting Plugins, then Add New, and searching for Really Simple SSL. Once you find the plugin, click Install Now and then Activate.
Step 3: Enable SSL with Really Simple SSL : After activating your SSL certificate, you need to enable SSL with Really Simple SSL. To do this, go to your WordPress dashboard, select Settings, then SSL. You will see a message that says "SSL is not detected." Click on the button that says "Go ahead, activate SSL!" Really Simple SSL will then automatically detect your SSL certificate and enable SSL on your site.
Step 4: Redirect HTTP to HTTPS : Once SSL is enabled, you can redirect your site to HTTPS. Really Simple SSL makes this process easy. To redirect your site, go to your WordPress dashboard, select Settings, then SSL. Scroll down to the "Settings" section and check the box that says "Enable 301 .htaccess redirect." This will automatically redirect all traffic from HTTP to HTTPS.
Step 5: Test Your Site : After completing the above steps, you should test your site to make sure that it is redirecting to HTTPS properly. You can do this by typing in your website's URL with HTTP in the address bar and seeing if it redirects to HTTPS. If everything is working properly, you should see a green padlock in the address bar indicating that your site is secure.
Conclusion : Redirecting your WordPress site to HTTPS is an important step in securing your website and protecting sensitive information. By using the Really Simple SSL plugin, you can easily redirect your site to HTTPS and ensure that your website is accessed securely.
What's Your Reaction?